
How to Roast a Chinese Peking Duck at Home
4 min read
Quick Overview
- Prep time
- 40 minutes plus 24 hours drying
- Cook time
- 1 hour 15 minutes
- Total time
- About 26 hours (mostly hands-off)
- Servings
- 4
- Difficulty
- Advanced
- Cuisine
- Chinese (Beijing)
Peking duck is one of those dishes that looks intimidating on a restaurant trolley but is genuinely achievable at home once you understand what each step is actually doing. There is no secret ingredient hiding in the glaze; the magic is almost entirely mechanical, based on separating skin from fat, drying that skin thoroughly, and roasting in two distinct temperature phases.
I've adapted the traditional restaurant technique — which typically involves specialized ovens and duck pumps — into something workable in a standard home kitchen with a rack, a sheet pan, and a bit of patience over one or two days. The result won't be identical to what you'd get at a Beijing roast duck institution, but it gets remarkably close, and the process teaches you a lot about how skin crisps in the first place.
Chef's Notes / Key Takeaways
- ▸Separating the skin from the fat with air (or a bicycle pump in the traditional method) is what allows the skin to blister and crackle.
- ▸Air-drying the duck uncovered in the fridge for at least 12–24 hours is essential for crisp skin; skipping it produces rubbery results.
- ▸A maltose or honey-vinegar glaze gives the skin its lacquered mahogany color.
- ▸Roasting at a moderate temperature first, then finishing hot, renders fat without burning the skin.
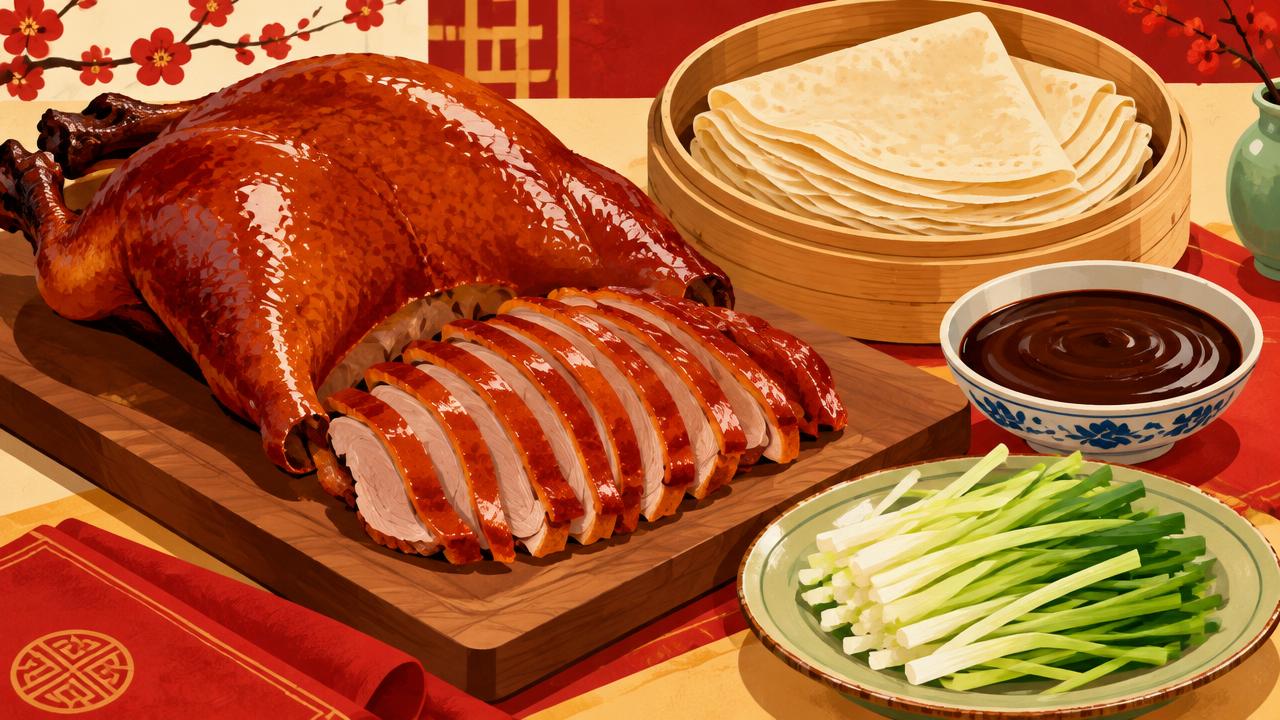
- ▸Thin pancakes, scallions, cucumber, and hoisin sauce are essential accompaniments, not optional garnishes.
Why Separating the Skin Matters
The defining feature of Peking duck is skin that shatters like a thin cracker rather than chewing like rubber. That texture only happens when a pocket of air (or rendered fat, once cooking starts) sits between the skin and the meat, allowing the skin to blister and crisp independently instead of steaming against wet flesh. Traditionally, cooks use a bicycle pump inserted at the neck to inflate this layer. At home, a turkey baster bulb or a wide straw works nearly as well; just be patient and go slowly so you don't tear the skin.
The Boiling Water Step
Pouring boiling water repeatedly over the duck's skin does two things: it tightens the skin by shrinking the collagen, and it opens the pores slightly so the glaze adheres better. Don't skip this even though it feels like an odd step for a dish that's about to be roasted — it's the difference between skin that blisters and skin that just browns.
The Glaze and the Dry
The classic glaze uses maltose, a thick, mild Chinese sugar syrup, thinned with hot water and combined with vinegar and a touch of soy sauce. Maltose gives a deeper mahogany color and slightly less cloying sweetness than honey, but honey is a perfectly fine substitute if maltose isn't available in your area.
After glazing, the duck needs real time in the fridge, uncovered, for the skin to dry out. This is non-negotiable: a wet or tacky skin surface steams instead of crisping in the oven. Twelve hours is a functional minimum; twenty-four hours produces noticeably better results. Position the duck on a rack, not directly on a tray, so air moves freely on all sides, and point a small fan at it in the fridge if you have the space, which speeds drying considerably.
| Stage | Temperature | Time | Purpose |
|---|---|---|---|
| Initial roast | 325°F (163°C) | 45 minutes | Render fat slowly without scorching skin |
| Final roast | 425°F (220°C) | 20–30 minutes | Crisp and deepen skin color |
| Rest | Room temperature | 10 minutes | Let juices redistribute before carving |
Roasting in Two Phases
A single high-heat roast will burn the sugary glaze before the fat underneath has had a chance to render out. Instead, start low to melt the subcutaneous fat gently over close to an hour, then finish hot for the last 20 to 30 minutes to blister and lacquer the skin. Keep a tray underneath to catch the substantial amount of fat that renders out; it's excellent for roasting potatoes another day.
Peking duck isn't about a special sauce brushed on at the last minute — it's dry skin meeting patient, staged heat. Everything else is assembly.
Carving and Serving
Traditionally, the skin is carved off first in glossy pieces and served on its own, followed by thin slices of the meat, though for a home meal it's perfectly fine to carve skin and meat together into thin pieces. Serve immediately while the skin is still audibly crisp; it softens within 20 minutes at room temperature. Warm mandarin pancakes (available frozen in most Asian grocery stores) in a covered steamer or wrapped in a damp towel in the microwave for 30 seconds, then let guests build their own wraps with hoisin, scallion, and cucumber.
Troubleshooting
- If the skin isn't crisping, it likely wasn't dry enough going into the oven — extend the drying time next round.
- If the glaze tastes burnt, your final roast was probably too hot or too long; pull the duck as soon as the color turns deep mahogany rather than waiting for a specific time.
- If the meat is dry, you may have started with too small a bird or overcooked past 165°F (74°C) in the thigh; use a thermometer rather than guessing.
Peking duck at home is a project, not a weeknight dinner, but it's a genuinely rewarding one. Once the duck comes out of the oven glossy and crackling, and you fold that first pancake around a sliver of skin and cucumber, it's easy to see why this dish has held its place at the center of Chinese banquet cooking for centuries.
Related recipes
- How to Make Chinese Scallion Pancakes
Make crisp, flaky Chinese scallion pancakes with a simple hot-water dough, aromatic scallion oil, and reliable stovetop technique. The guide explains the essential choices, common mistakes, and useful variations in clear practical terms.
- How to Make Mapo Tofu at Home
Mapo tofu is a fast, fiery Sichuan classic that lives or dies on a well-built sauce and gentle handling of soft tofu. This guide covers the technique, ingredient substitutions, and the small details that separate home versions from restaurant ones.
- How to Make Char Siu Pork
Learn how to make Cantonese char siu with a glossy savory-sweet glaze, tender pork, and deep caramelized edges in a home oven. The guide explains the essential choices, common mistakes, and useful variations in clear practical terms.